Anodizing is an electrochemical process to which aluminum is subjected which allows to create a protective oxide layer on the surface of the piece.

This oxide can reach a hardness of 9 on the Mohs scale (ranges from 1 to 10), so it offers protection against wear and atmospheric agents while preserving the object being subjected.
| Oxide thickness |
Usage |
| 5 microns |
Aesthetics only |
| 10 microns |
For indoors |
| 15 microns |
For outdoors |
| 20 microns |
Smog and aggressive atmospheres |
| 25 microns |
Architectural structures |
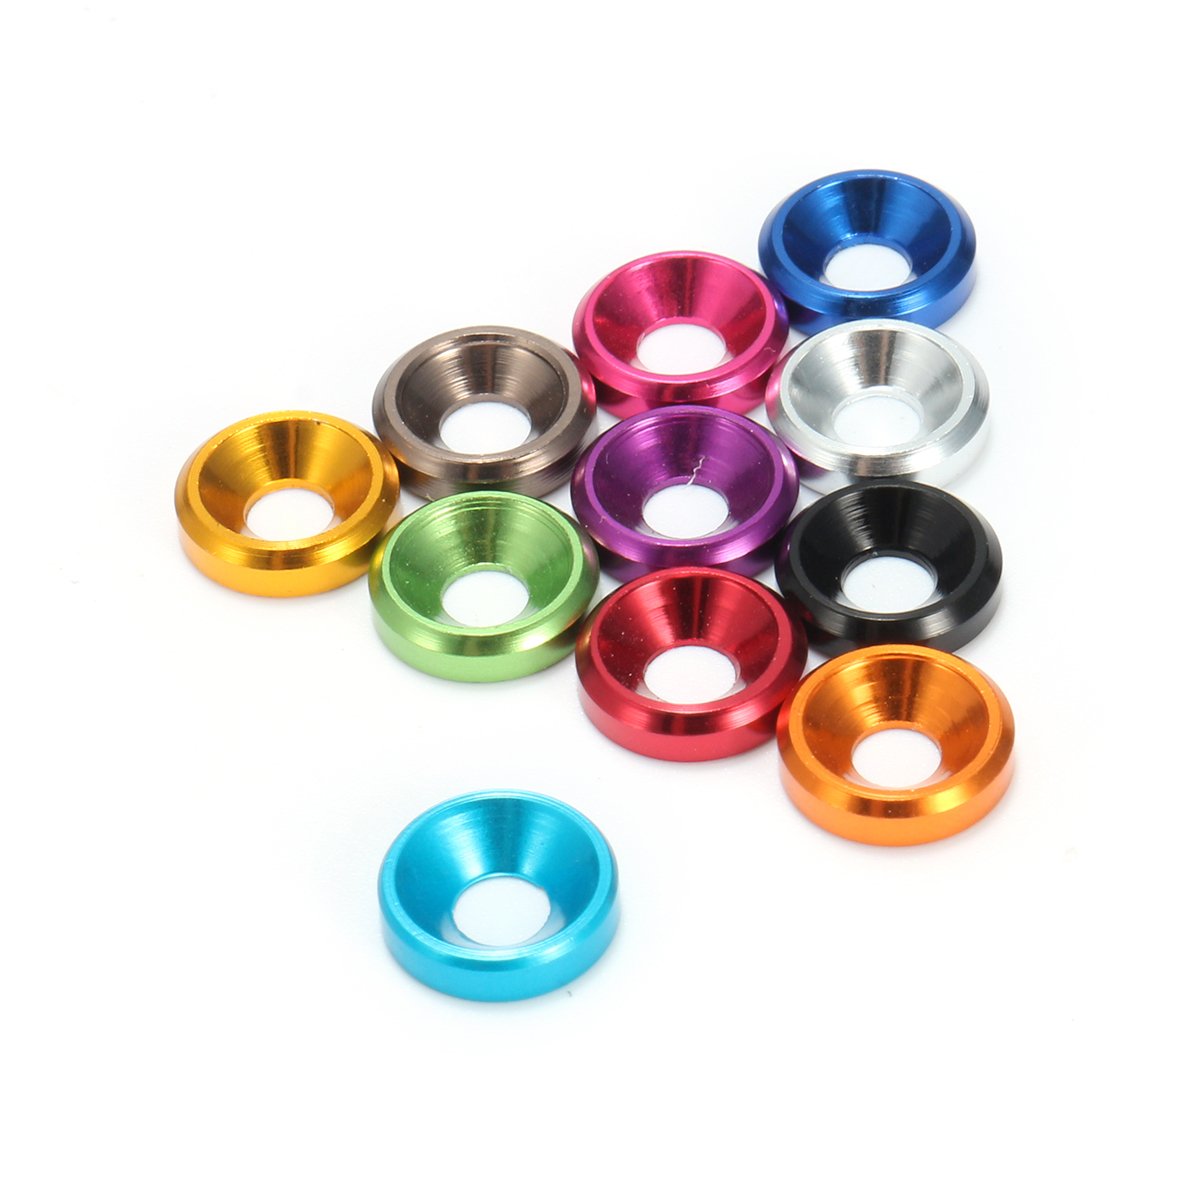
Thanks to this procedure it is also possible to color the piece in the desired color.

The steps that make up this process are:
- Cleaning and degreasing of the piece by washing in a sodium hydroxide solution (caustic soda) to make the coloring uniform.
- Electrochemical bath it is in this phase that the protective oxide layer is formed, according to its duration and its characteristics, the layer will have different thicknesses and characteristics.
- Coloring is not mandatory at this stage for the purpose of mechanical protection that the color is given to the piece, in fact after anodizing the piece is aluminum colored. To color it you can use the printing inks for inkjet printers.
Cleaning and degreasing o Removal of previous anodizing
The solution will consist of 10g of caustic soda for every 100ml of distilled water. Pour the caustic soda into the water, "never give an acid to drink" . The reaction will produce heat, so add the soda gradually.
After leaving the piece immersed, rinse it by immersing it in distilled water. Do not touch the piece with your hands again until the end of the treatment
With this system you can also remove a previous anodization . If it is an alloy, its color can be of different colors after treatment, for example ergal will be black.
Electrochemical bath

It is prepared by taking a glass or sturdy plastic container, it will contain a solution of sulfuric acid (170g of sulfuric acid per 1 liter of distilled water).
Always use gloves and protective gear when handling dangerous substances.
Insert a cathode (negative pole) of lead or pure aluminum (e.g. aluminum for food in rolls) surrounding the part to be anodized.
To calculate the right current to apply to your electrolytic bath you will need to geometrically calculate the surface of your piece and apply the following rule:
Oxide thickness (in microns)=0.03 x Time (in minutes) x Current density (mA/cm²)
To know the current density, we use the inverse formula
Current density=thickness/(0.03 x Time)
For example, with treatments from 10 to 60 minutes and currents from 10 to 20 mA/cm², thicknesses ranging from 5 to 35 microns will be obtained,
How to proceed with anodizing?
After calculating the necessary current density and deciding the application time, adjust and connect the anode (positive pole) to the part to be anodized.
Please note that the electrolytic bath:
- Never exceed the temperature of 21 ° C, put the bath container in water and ice to cool if necessary.
Once the piece has been removed after the bath, rinse in plenty of water.
Porous surface after anodizing
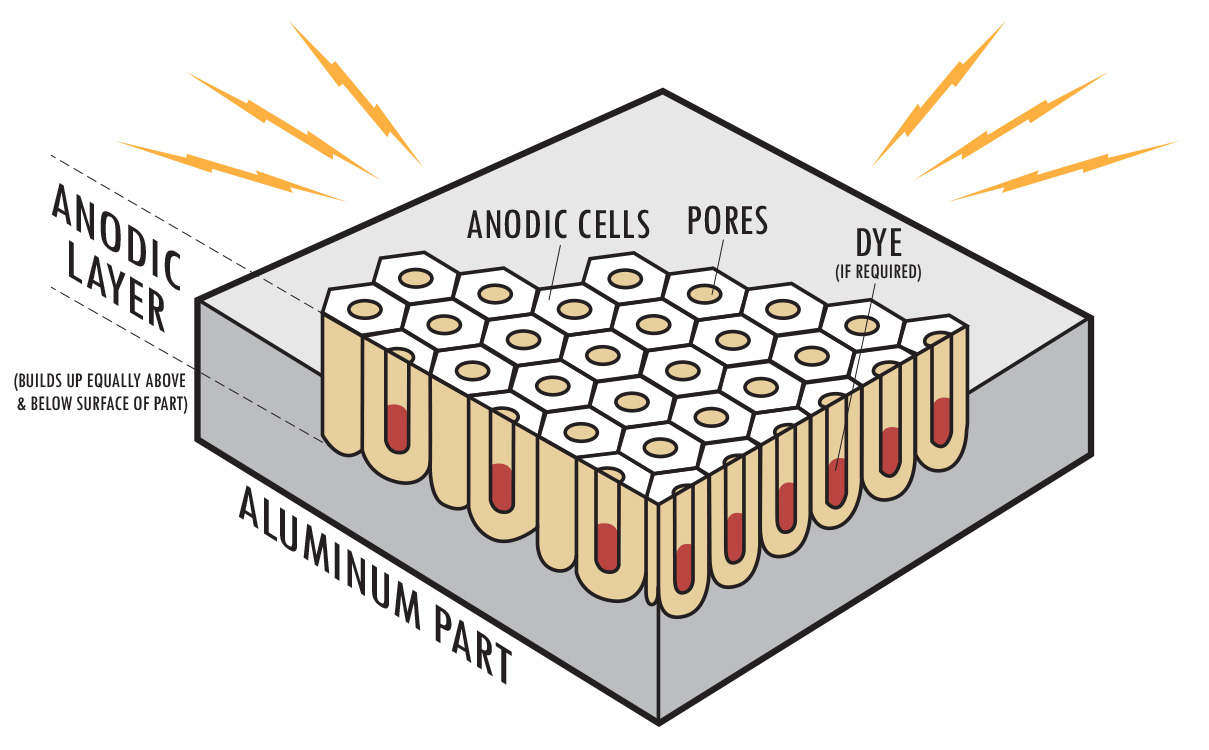
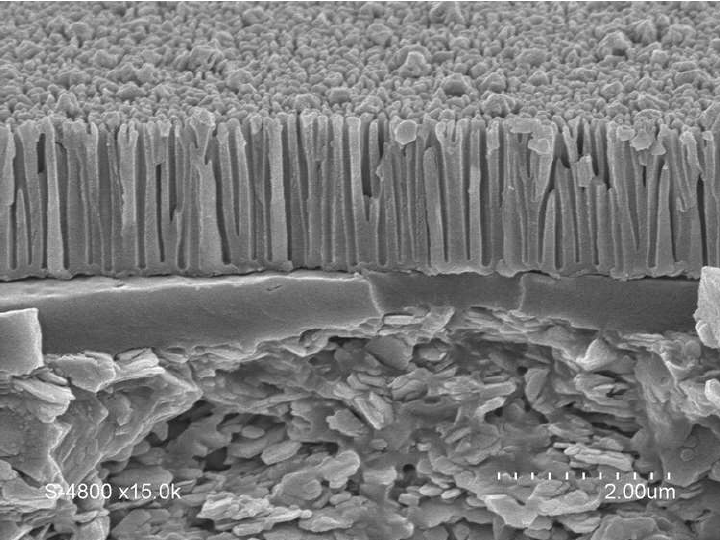
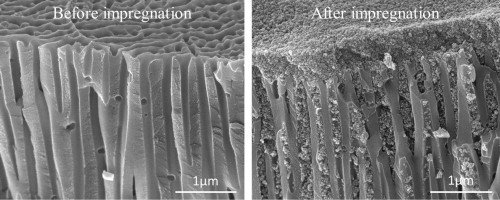
The treatment creates micro-pores on the surface of the anodized piece, with a honeycomb arrangement. This microscopic structure makes the surface harder and allows it to accommodate the pigments that will make the anodized piece colored.

Coloring

Get some liquid inks for inkjet printers. There are four shades needed to obtain any shade of color:
- Cyan
- Magenta
- Yellow
- Black
Using a graphics program on a computer, choose the color and follow the proportions indicated by the software to dose the proportion between the inks and obtain the chosen color. Use a scale and syringes to measure the proportion correctly.
Dissolve the pigment obtained in distilled water (6g of color for every 100ml of water), preheat the solution and soak the piece, bringing everything to a temperature of about 70 ° C for 15 minutes.