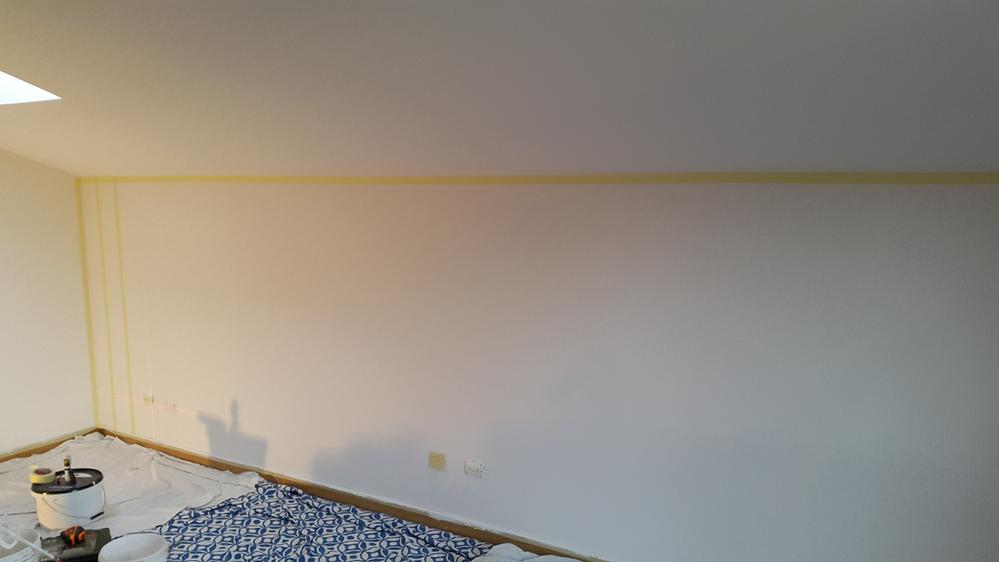
First phase , spread the background color, evenly (in our case, white), making sure that it adheres well to the support.
Restore the fund
If necessary, restore a well-bonded wall base. Otherwise during the removal of the tape more or less extensive portions of the bottom would be torn from the wall causing serious damage to the decoration.
Second step Create a gap between the wall and the ceiling with the ribbon. Choose a ribbon of the height you prefer but remember that the higher it will be, the easier it will be to paint without getting dirty out of the space.
Creating a straight line is important because often the plaster does not create a sharp and straight line.
The eye will read the color thus making the decoration more regular. Remember to also protect the skirting board.
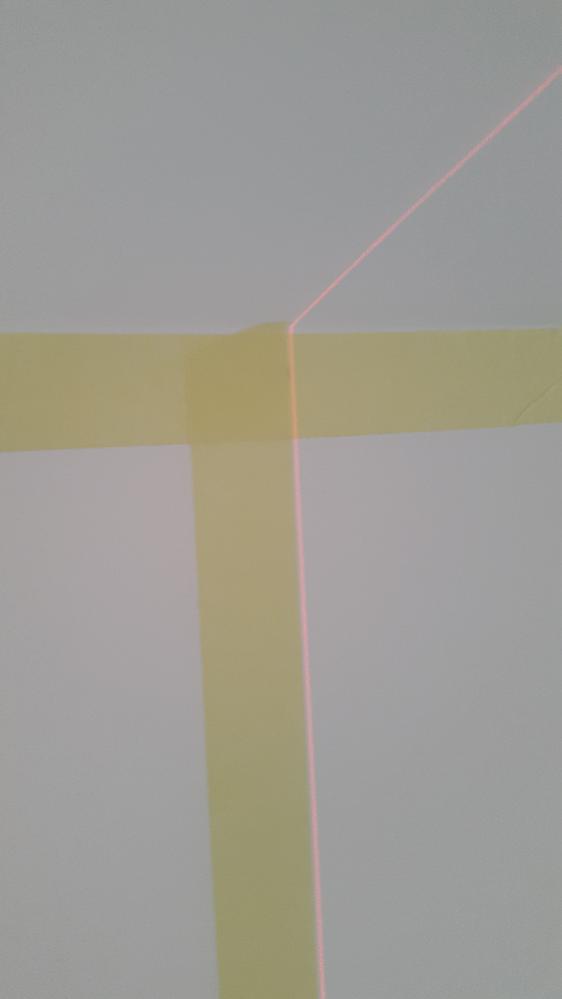
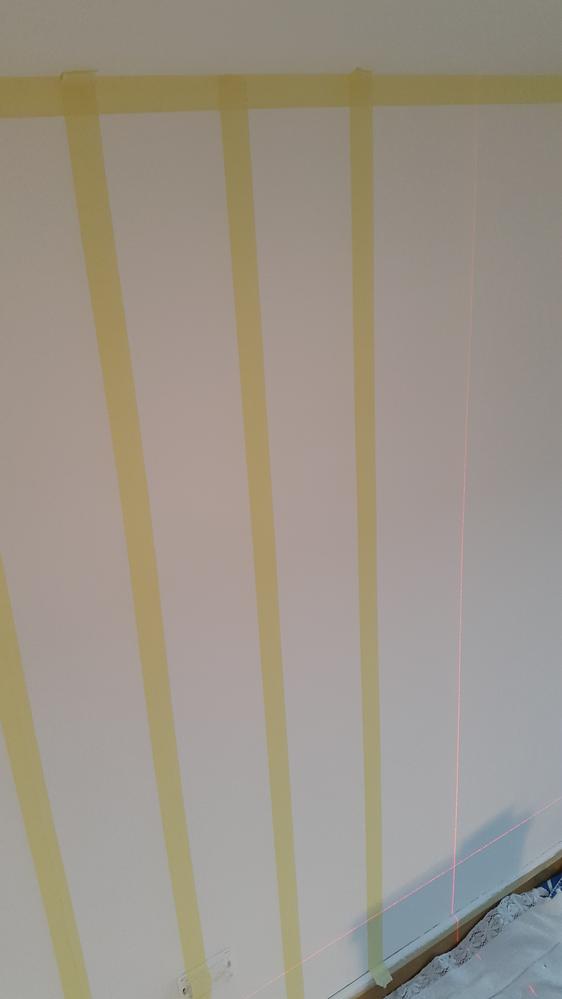
Third phase , in our case having to draw the vertical lines we mark on the ribbon of frame, the distance between a tape and the other, with a pencil. This will tell us where to direct the laser bubble to obtain a perfectly vertical reference line.
At this point we apply the vertical masking tape with the laser reference. We pass the hand on the edge of the tape to make the tape adhere well to the wall. This will make the border between the colors beautiful net.

We start to paint with the color (gray in our case), we check the color rendering well, possibly applying more hands.
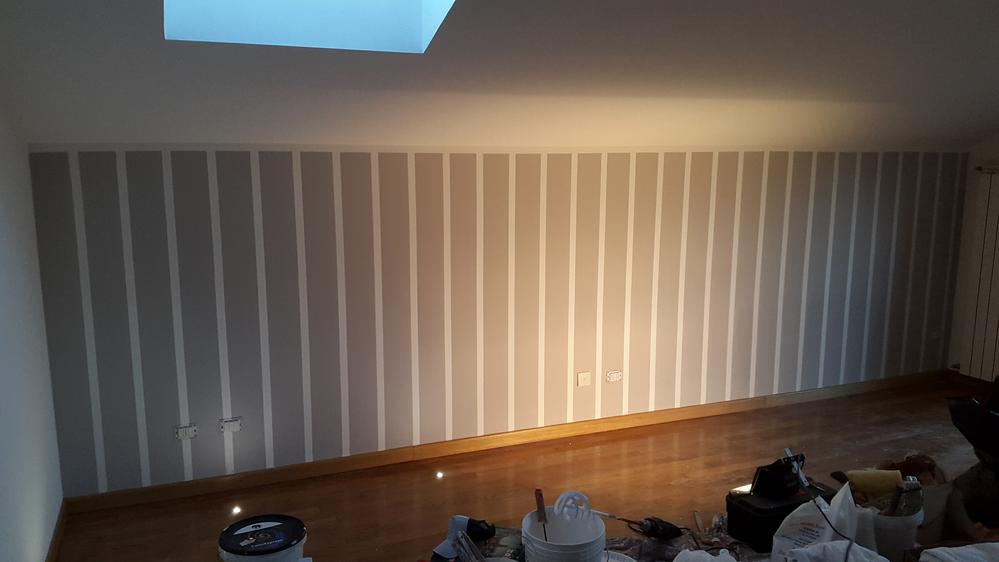
When we are satisfied, with dry paint, we remove the tape gently, making sure that it is detached from the wall at a grinding angle. This will make it less likely to detach the primer from the substrate.
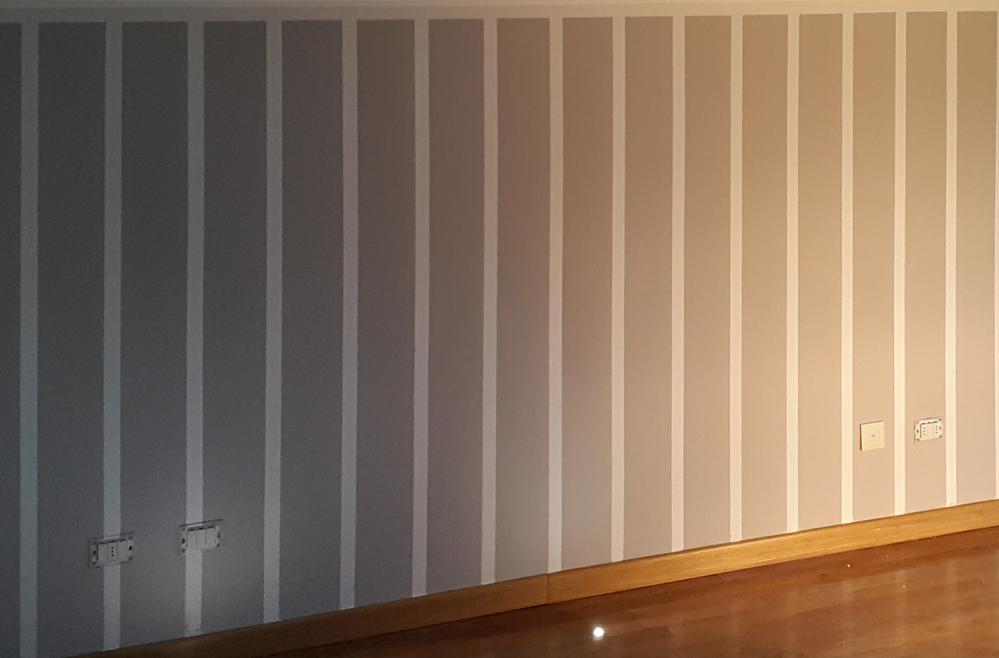
For small imperfections, do not worry with a small brush, you can retouch and erase any smudges in the outline.
Restore the wall does not hold
If the paint may after many overlapping layers, after many bleaching tends to fall apart it will be almost impossible to realize a decoration in these conditions. But do not despair, there is a solution.
First eliminate any sources of moisture that can cause this effect, then sander, mask and protective glasses.
Bring the plaster back into view and start again to whiten after one or two coats of fixative. Now you will have a stable support on which it will be possible to obtain beautiful decorations.