Let's take a freshly washed shirt. When it comes out of the washing machine, shake it, flatten it with your hands and hang it on his little man, taking care to fasten the first button of the collar.

- Fill the iron with water, preferably using the distilled water that you buy at the supermarket as the tap contains a small amount of minerals which, over time, can accumulate in the iron, causing the block. If we notice that the soleplate of the iron sprays water in a few places, the holes could be partially blocked!
- Let the iron reach the right temperature by remembering that cotton shirts need a hot iron. On the other hand, a shirt made of "anti-crease" fabric requires a lower temperature. We take care not to burn it by looking at the instructions on the label.
- Let's find a place to hang the laundry. If you need to hang more than one item of clothing, we should fold or hang them. This way we avoid other wrinkles forming once the job is done.
- Lightly spray the shirt with some starch or starch spray, then remove it from the hanger by unbuttoning it.
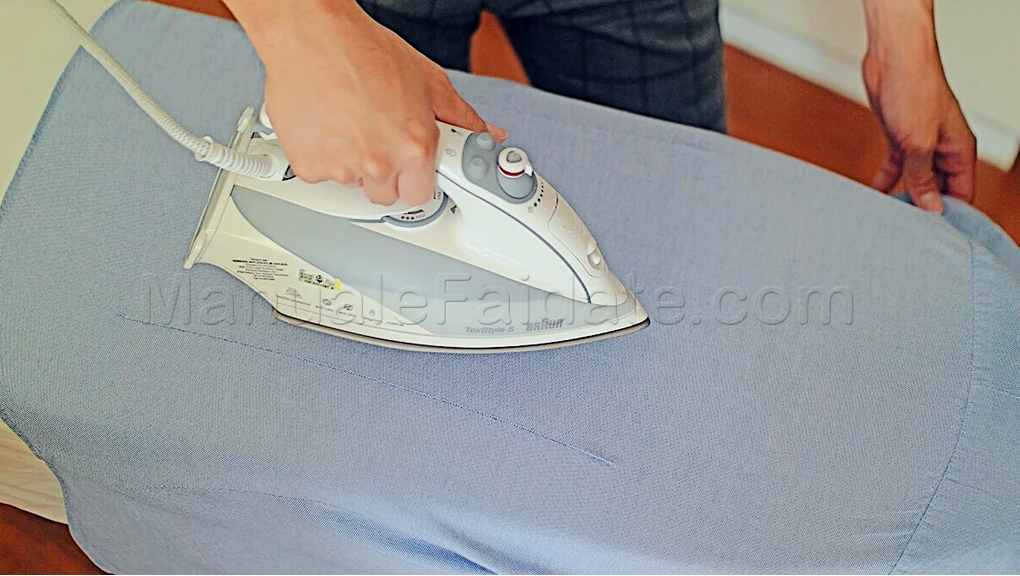
- If we have to iron a classic shirt, put the tip of the ironing board in the sleeve of the shirt. If we do not have a small board for the sleeves, then we place the flattened sleeves on the pointed part of the base and iron. We turn the shirt and iron the back, repeating the procedure for the opposite sleeve. Finally, let's focus on the back of the shoulders and the yoke.
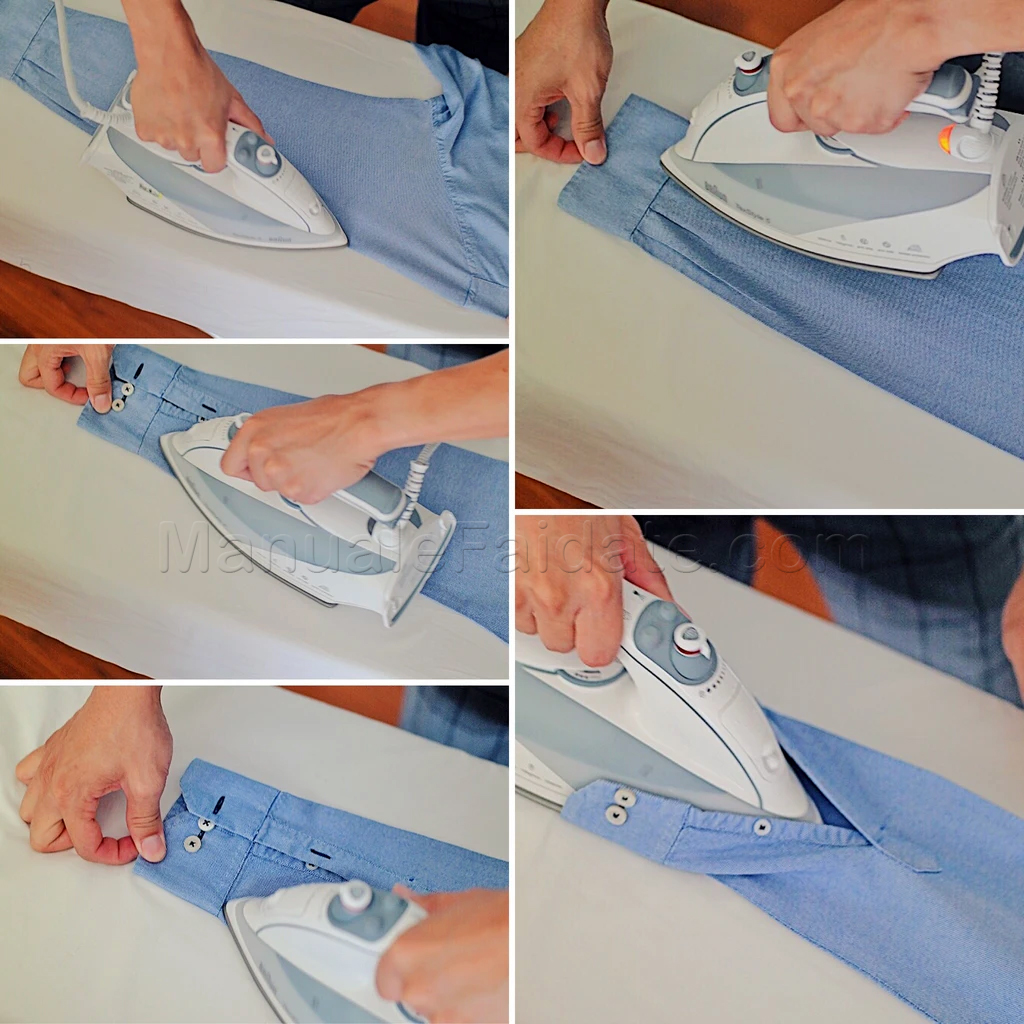
- Let's go back to the front of the shirt and iron half of it with the buttons, being careful not to burn them by touching them, iron the back, tightening the fabric and the part of the eyelets well, on which, on the reverse side, we can spray a thread of starch.
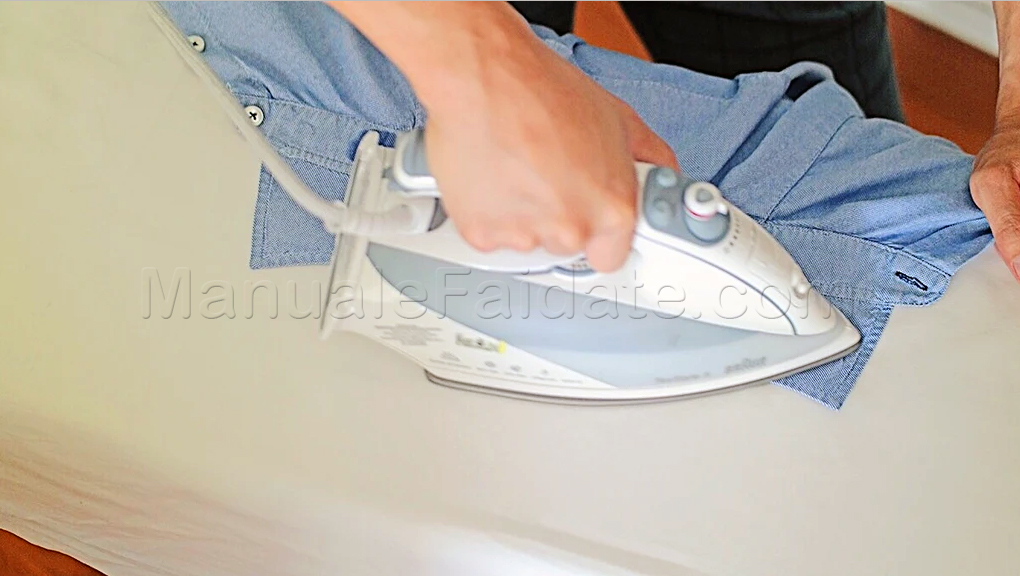
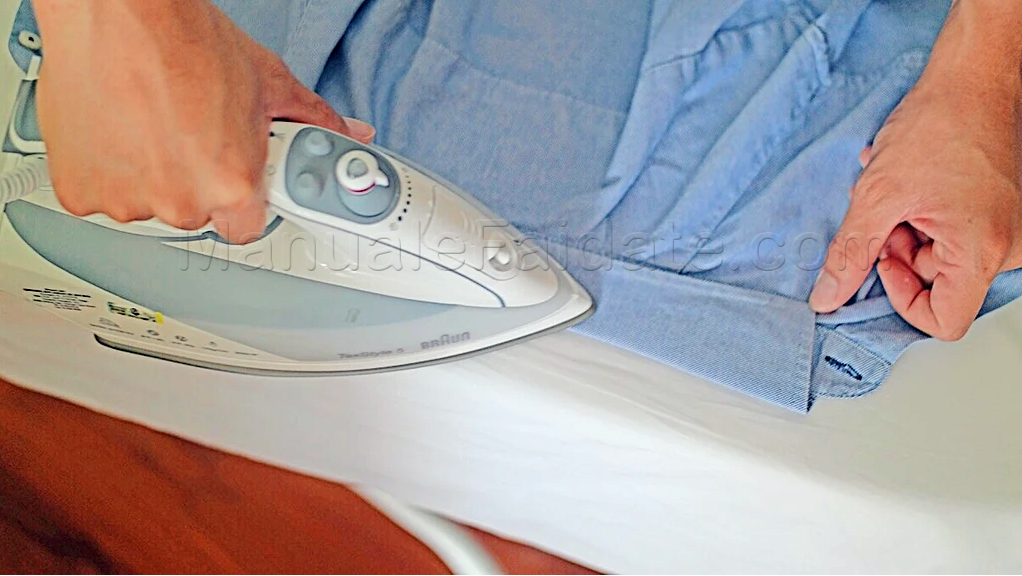
- We iron the neck, first inside out, then on the right side, remembering, in this case too, to pull it well so as not to wrinkle.
- We hang the shirt by closing the first and third buttons.
Work done to perfection!